May
14th,
2019
 We’ve been working with Raspberry Pi in order to offer a TV extension of our services.
This post is one of a series which shows how we did.
What do you need?
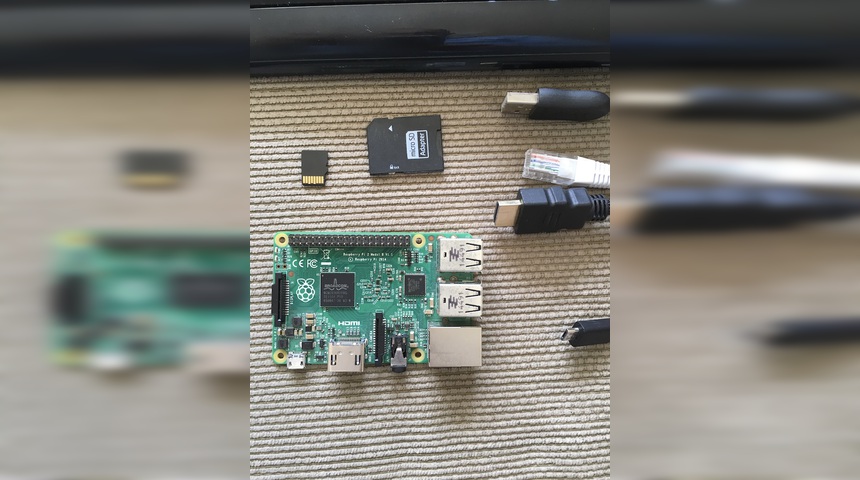
- Raspberry Pi Board - 2 or 3
- Wired Network Connection for 2
- Wireless/Wired Network Connection for 3
- Micro SD Card - class 10 or faster
- USB Keyboard
- HDMI Cable and a Monitor/TV
- PC with SD Card reader
- Curiosity :p
Install OS
We just want instal the bare necessary to works so we choose Raspbian Lite:
Setup Auto Login

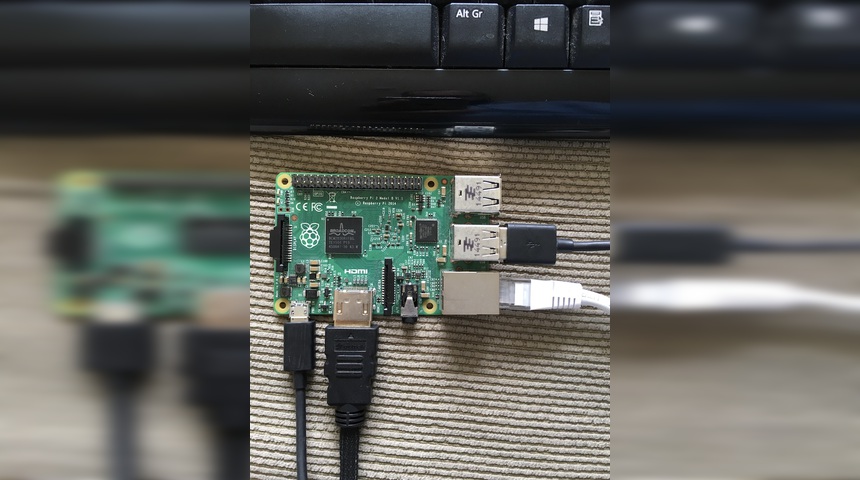
Assemble all pieces and turn it on! Log in. Login: pi Password: raspberry
$ sudo raspi-config
- Boot Options > Desktop / CLI > Console Autologin
- Select Finish, and Reboot the pi.
Setup SSH (optional)
The following instructions can be put either raspberry directly or SSH. I do prefer SSH because is easier to copy/paste commands.
$ sudo raspi-config
- Interfacing Options > SSH > Yes
$ ifconfig
Get ip address and access through ssh from another PC
$ ssh pi@[rasp.ip.add.ress]
Install Chromium
$ sudo apt-get update
$ sudo apt-get upgrade
$ sudo apt-get install --no-install-recommends xserver-xorg x11-xserver-utils xinit openbox
$ sudo apt-get install --no-install-recommends chromium-browser
Config Kiosk
$ nano /etc/xdg/openbox/autostart
/etc/xdg/openbox/autostart
xset s off
xset s noblank
xset -dpms

# Allow quitting the X server with CTRL-ATL-Backspace
setxkbmap -option terminate:ctrl_alt_bksp

# Start Chromium in kiosk mode
sed -i 's/"exited_cleanly":false/"exited_cleanly":true/' ~/.config/chromium/'Local State'
sed -i 's/"exited_cleanly":false/"exited_cleanly":true/; s/"exit_type":"[^"]\+"/"exit_type":"Normal"/' ~/.config/chromium/Default/Preferences
chromium-browser --disable-infobars --kiosk 'https://mmb-lottie-performance.stackblitz.io/'
Test
startx -- -nocursor
To close just press Ctrl+Alt+Backspace
Config autostart
$ sudo nano .bash_profile
Add [[ -z $DISPLAY && $XDG_VTNR -eq 1 ]] && startx -- -nocursor
```
save and reboot $ sudo reboot
Now when it start the website will be showed